Virtual Machines are a must for every OSINT investigation. Conducting safe OSINT research should be a priority, and the first step for you is to create a secure working environment. If your job is related to information gathering, you might be at risk of being exposed. In this short post, I will guide you through my virtual machine installation process.
UTM Virtual Machine
UTM Virtual Machine is an open-source project created exclusively for MacOS and Apple devices. As stated, the UTM employs Apple’s Hypervisor virtualization framework to run ARM operating systems on Apple Silicon at native speed. The UTM virtualizes the x86/x64 operating system on Intel-based machines.
You have two options to install the UTM - via App Store or Terminal. I will use the Terminal.
VM for MacOS
Before we start, it is always a good idea to update and upgrade our existing system and apps:
~ brew update
~ brew upgrade
The following command downloads and installs UTM:
➜ ~ brew install --cask utm
==> Downloading https://github.com/utmapp/UTM/releases/download/v4.1.5/UTM.dmg
==> Downloading from https://objects.githubusercontent.com/github-production-release-asset-2e65be/181042062/fe21578a-583d-464f-9fb
######################################################################## 100.0%
==> Installing Cask utm
==> Moving App 'UTM.app' to '/Applications/UTM.app'
==> Linking Binary 'utmctl' to '/usr/local/bin/utmctl'
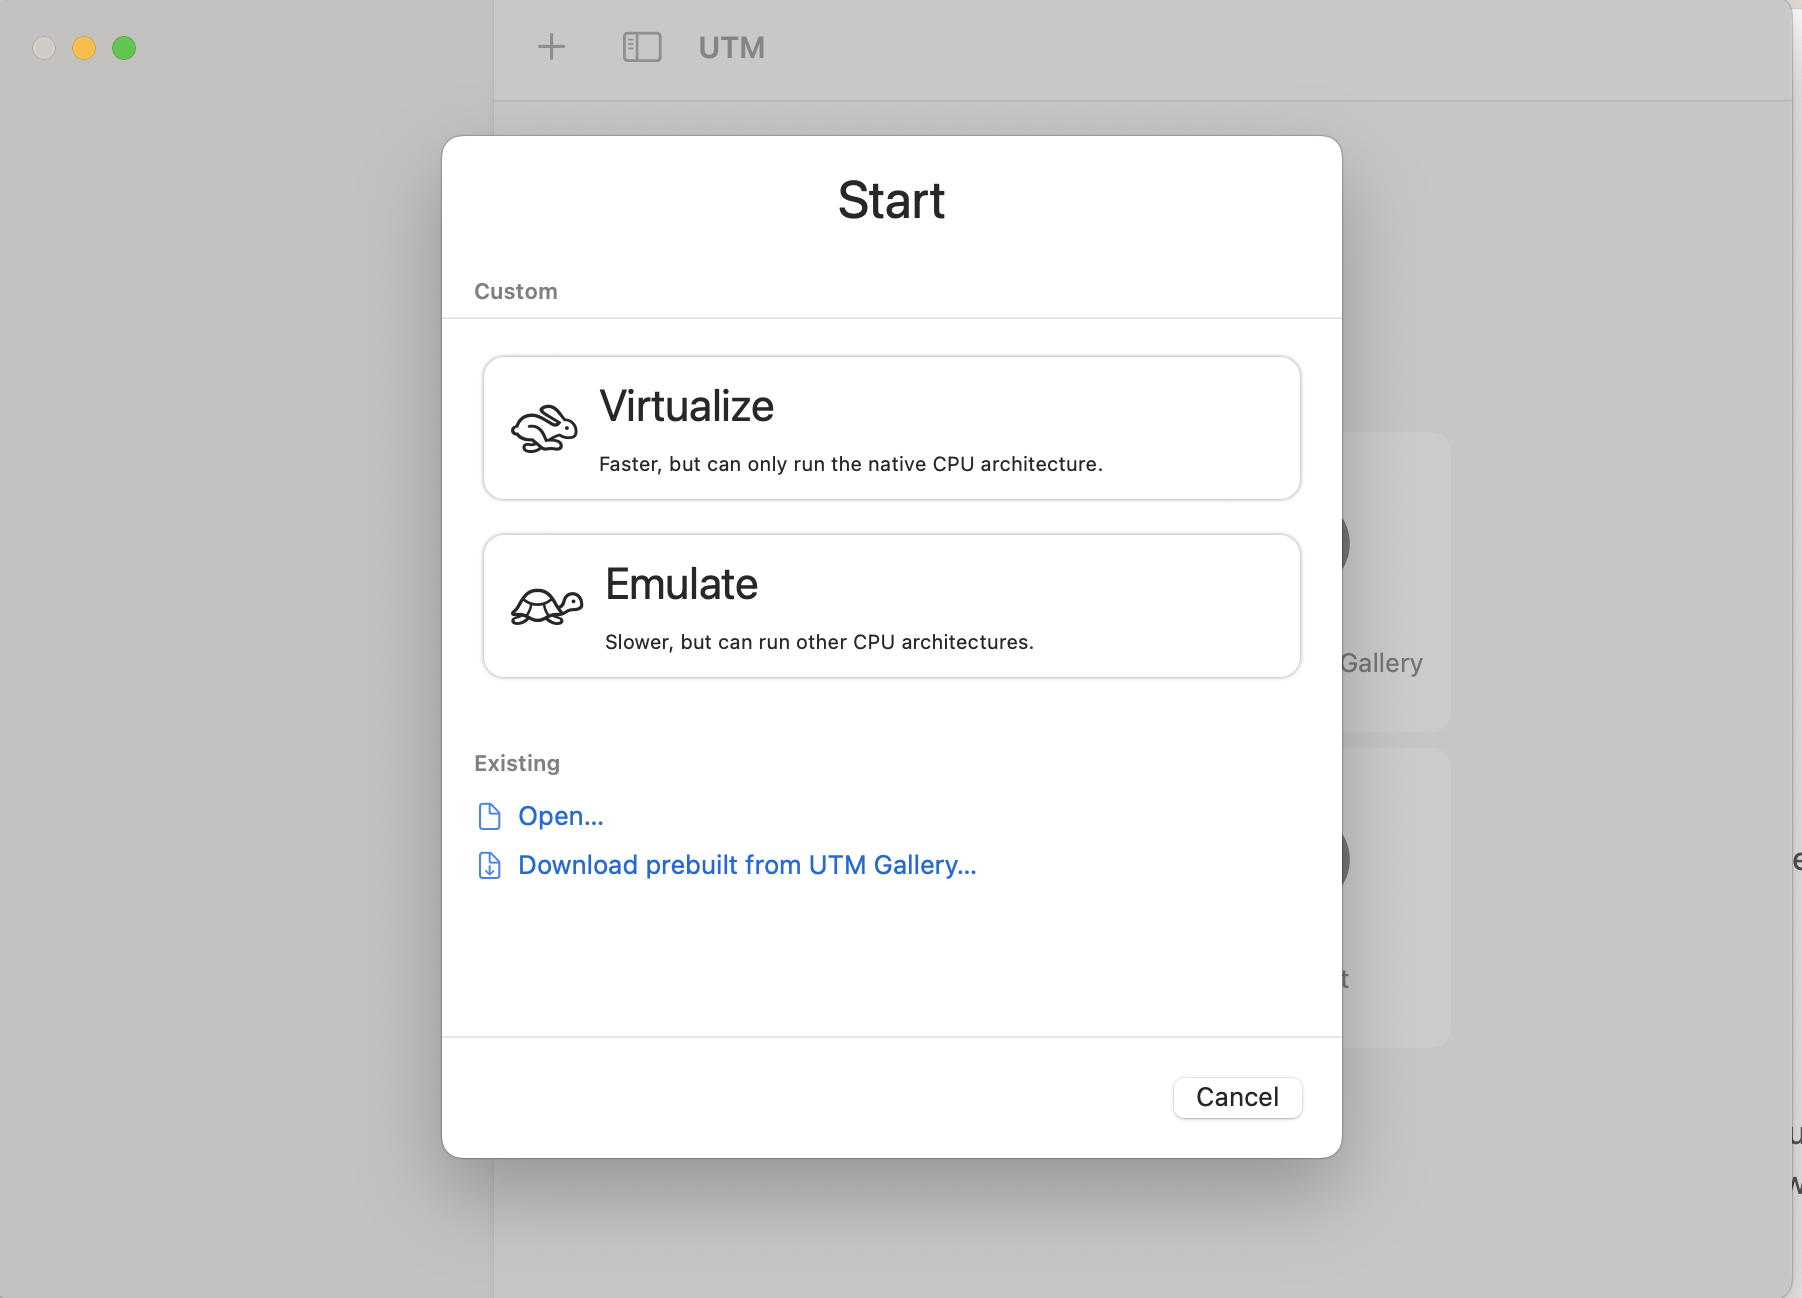
🍺 utm was successfully installed!UTM provides two options - “Virtualize” or “Emulate.” The first option gives us direct access to the hardware and shares a host’s resources faster into multiple virtual systems. The process of “emulation” is slower but more forgiving. The VM needs an interpreter to translate its code into the host language and, respectively, “burn” most of the resources. I find “Virtualization” more suitable for my machine. You can experiment and see which option is for you.
Next, choose your preferred operating system - I will go with Ubuntu. Additionally, we need to choose a path for our Virtualization Engine. Based on your Apple device, you should opt in for Intel ISO download or M1 & M2 ARM version of Ubuntu.
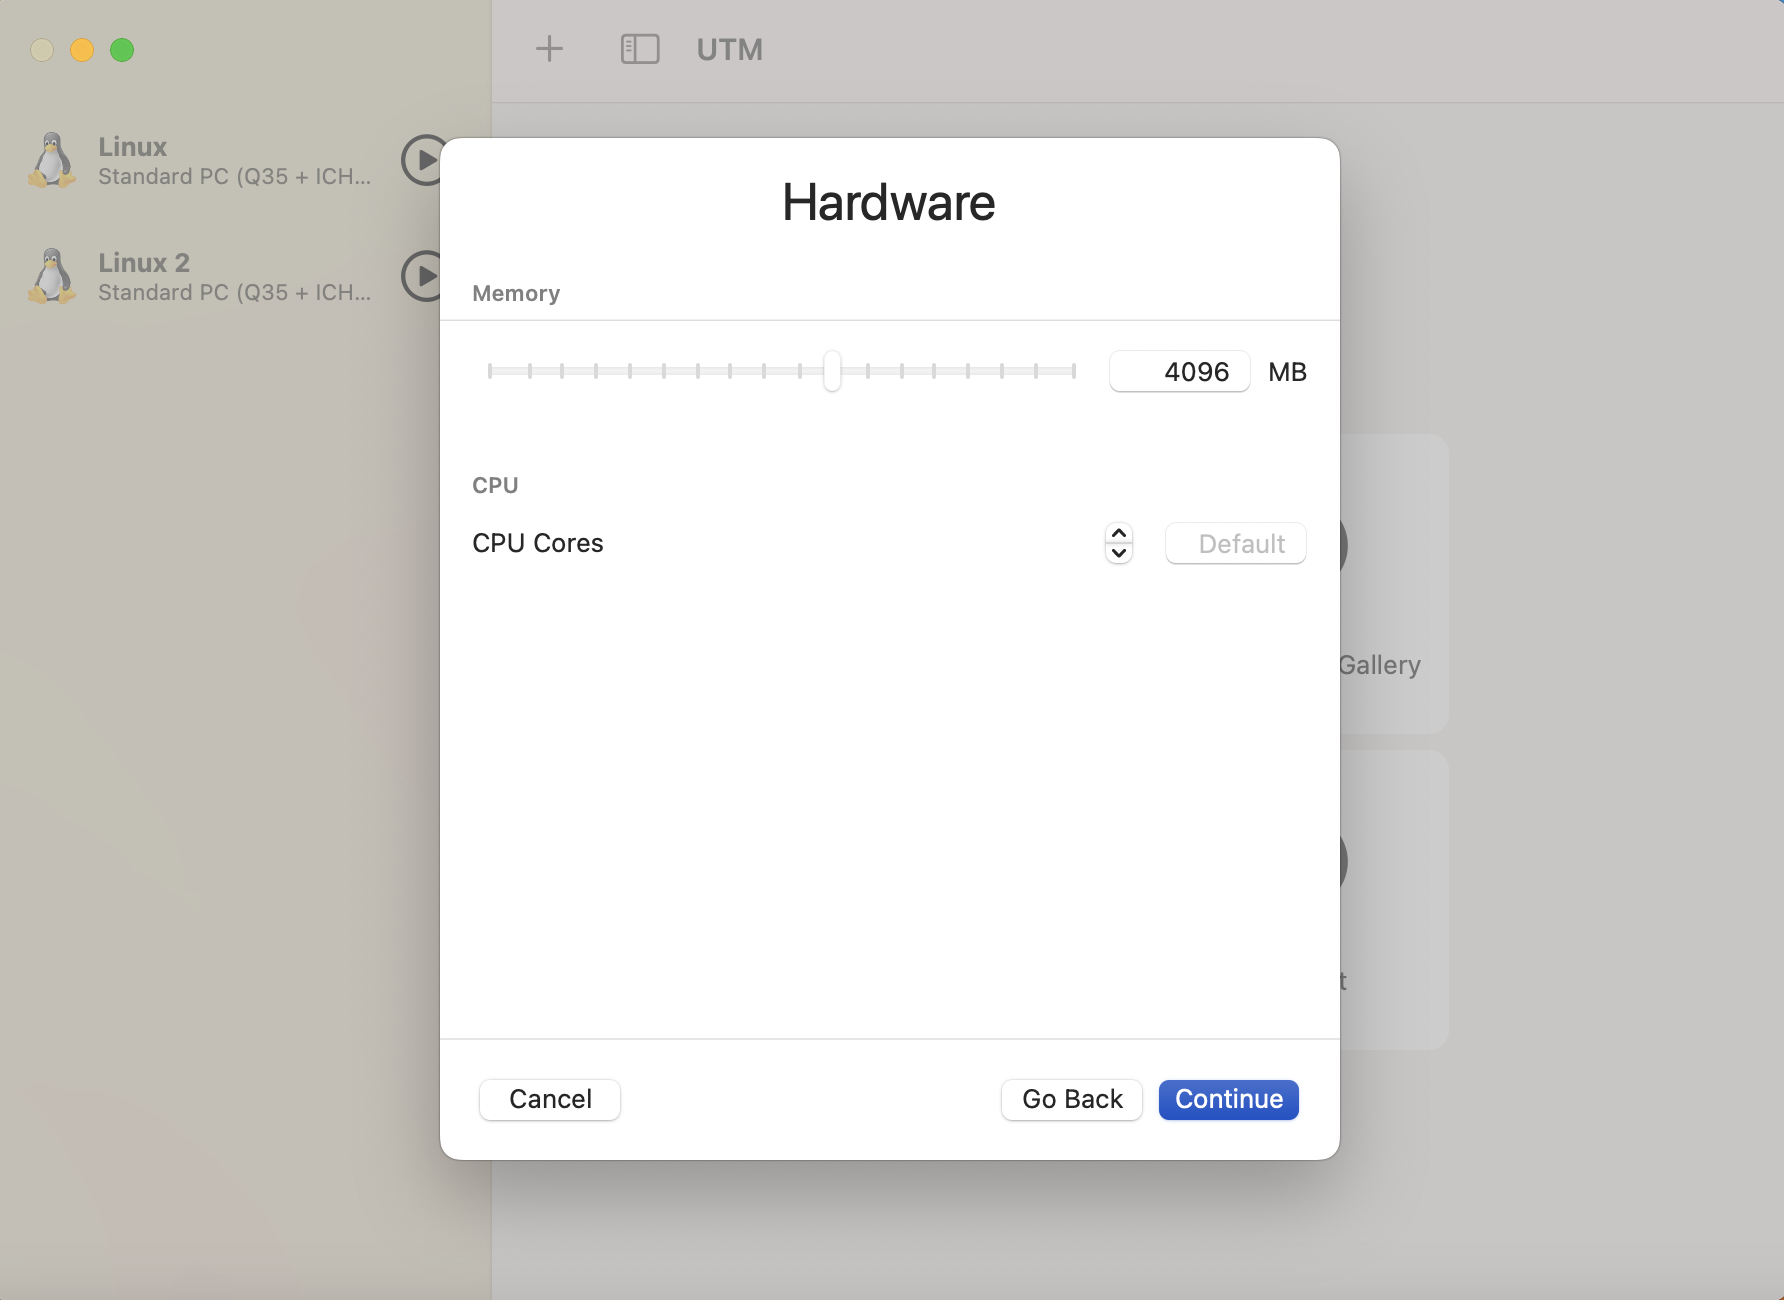
Regarding resource allocation, I prefer to give approximately 1/2 of my physical memory to the new virtual system and keep 4 CPU Cores. I would also add up 120GB hard disk.
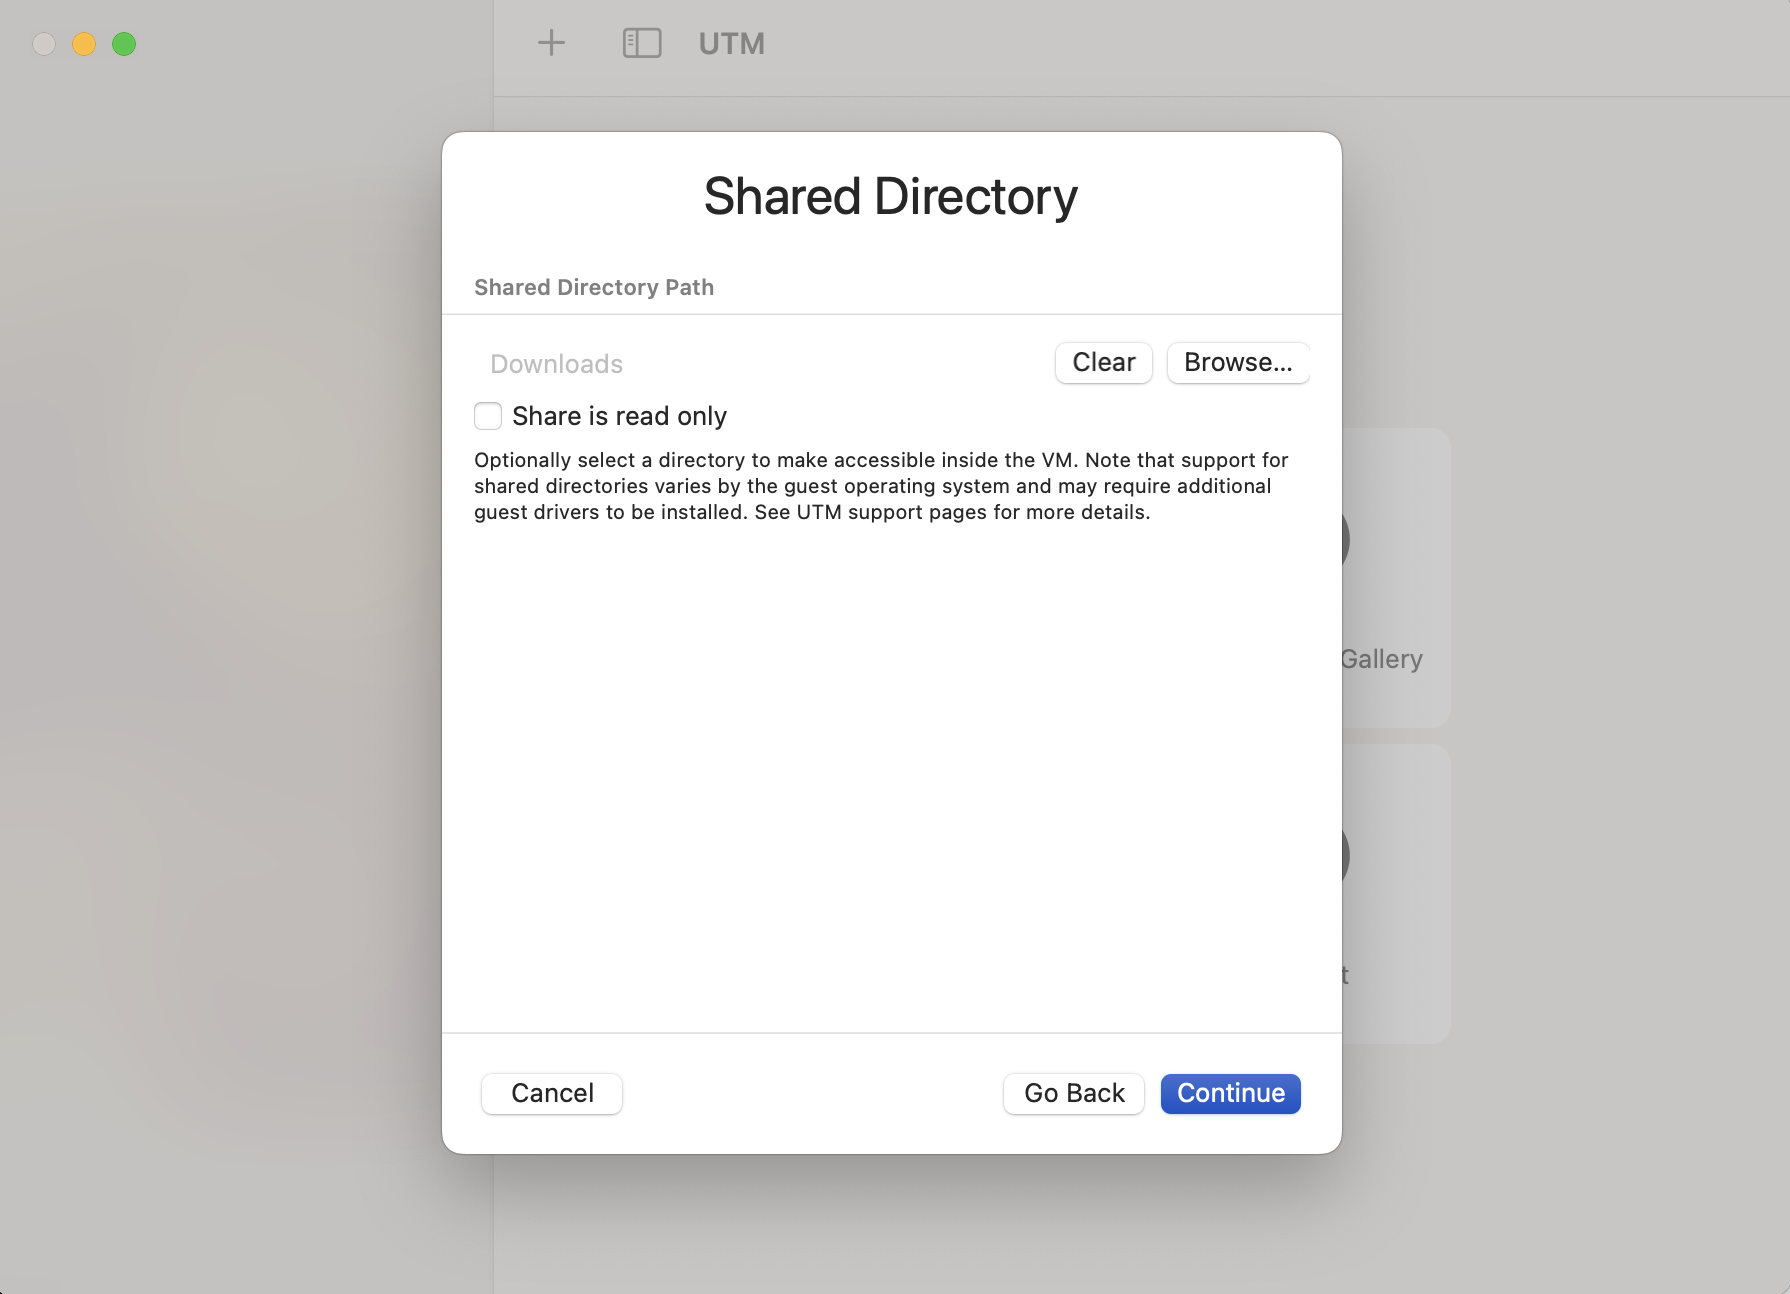
UTM allows you to share files freely between your virtual machine and the host. I keep this option enabled. Choose the directory path and continue. Save the summary and finish the initial set of settings.
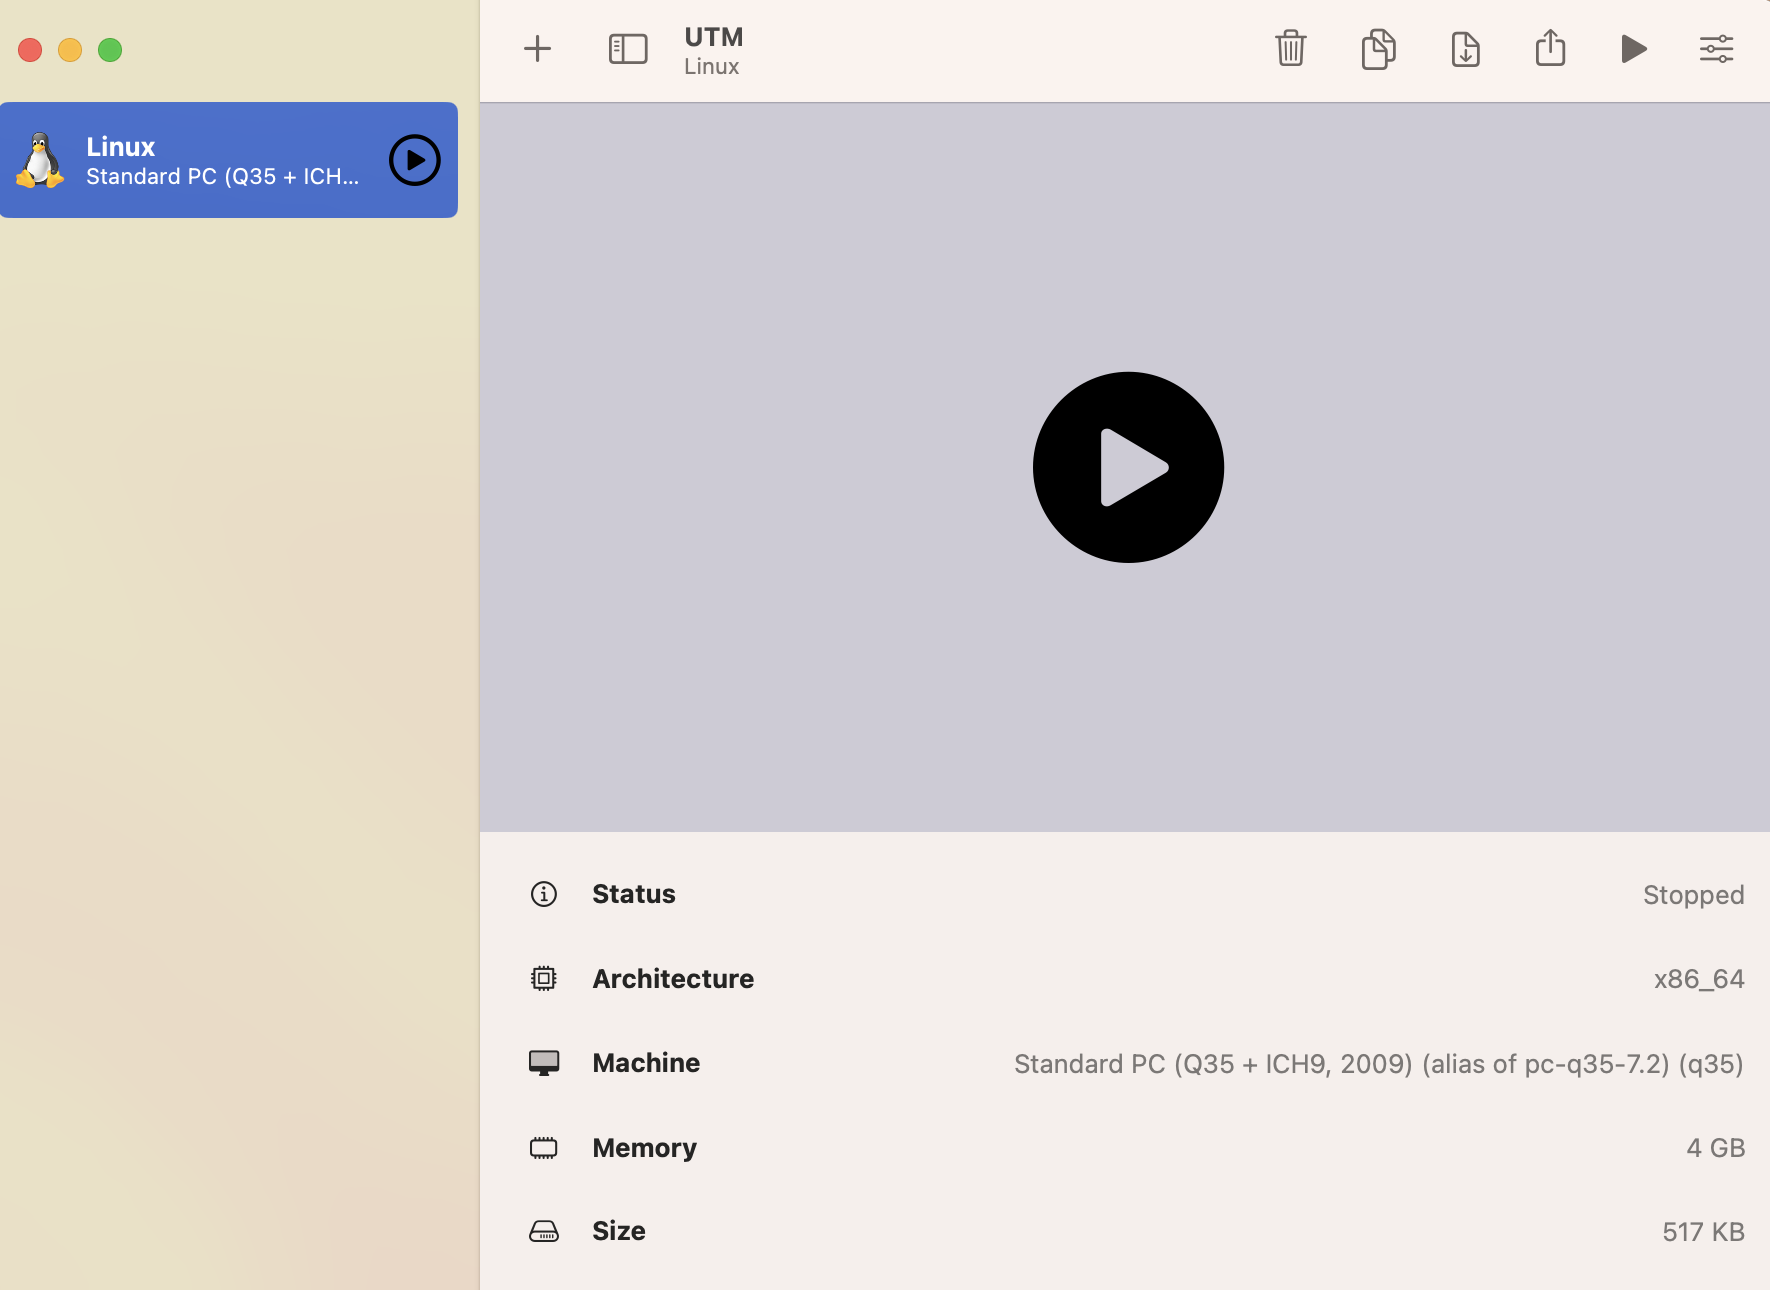
Now you are ready to install your Ubuntu virtual machine. Click on the arrow icon to start the installation process.
You will be prompted to “Try or Install Ubuntu” upon starting an installation. Select “Install” and click “Continue.” Specify your preferred keyboard language and start “Normal Installation” with “Download Updates” and “Install third-party software for graphics and Wi-Fi hardware and additional media format.” On the next step, go for “Erase disk and install Ubuntu.” You will be asked to enter a username and password at some point. Although our virtual machine “lives” on our host, it is good to practice following the rules of a strong password.
It could take up to 20 minutes to complete depending on your computer. In the end, you will be presented with the classical Ubuntu screen. To finish the installation, reboot.
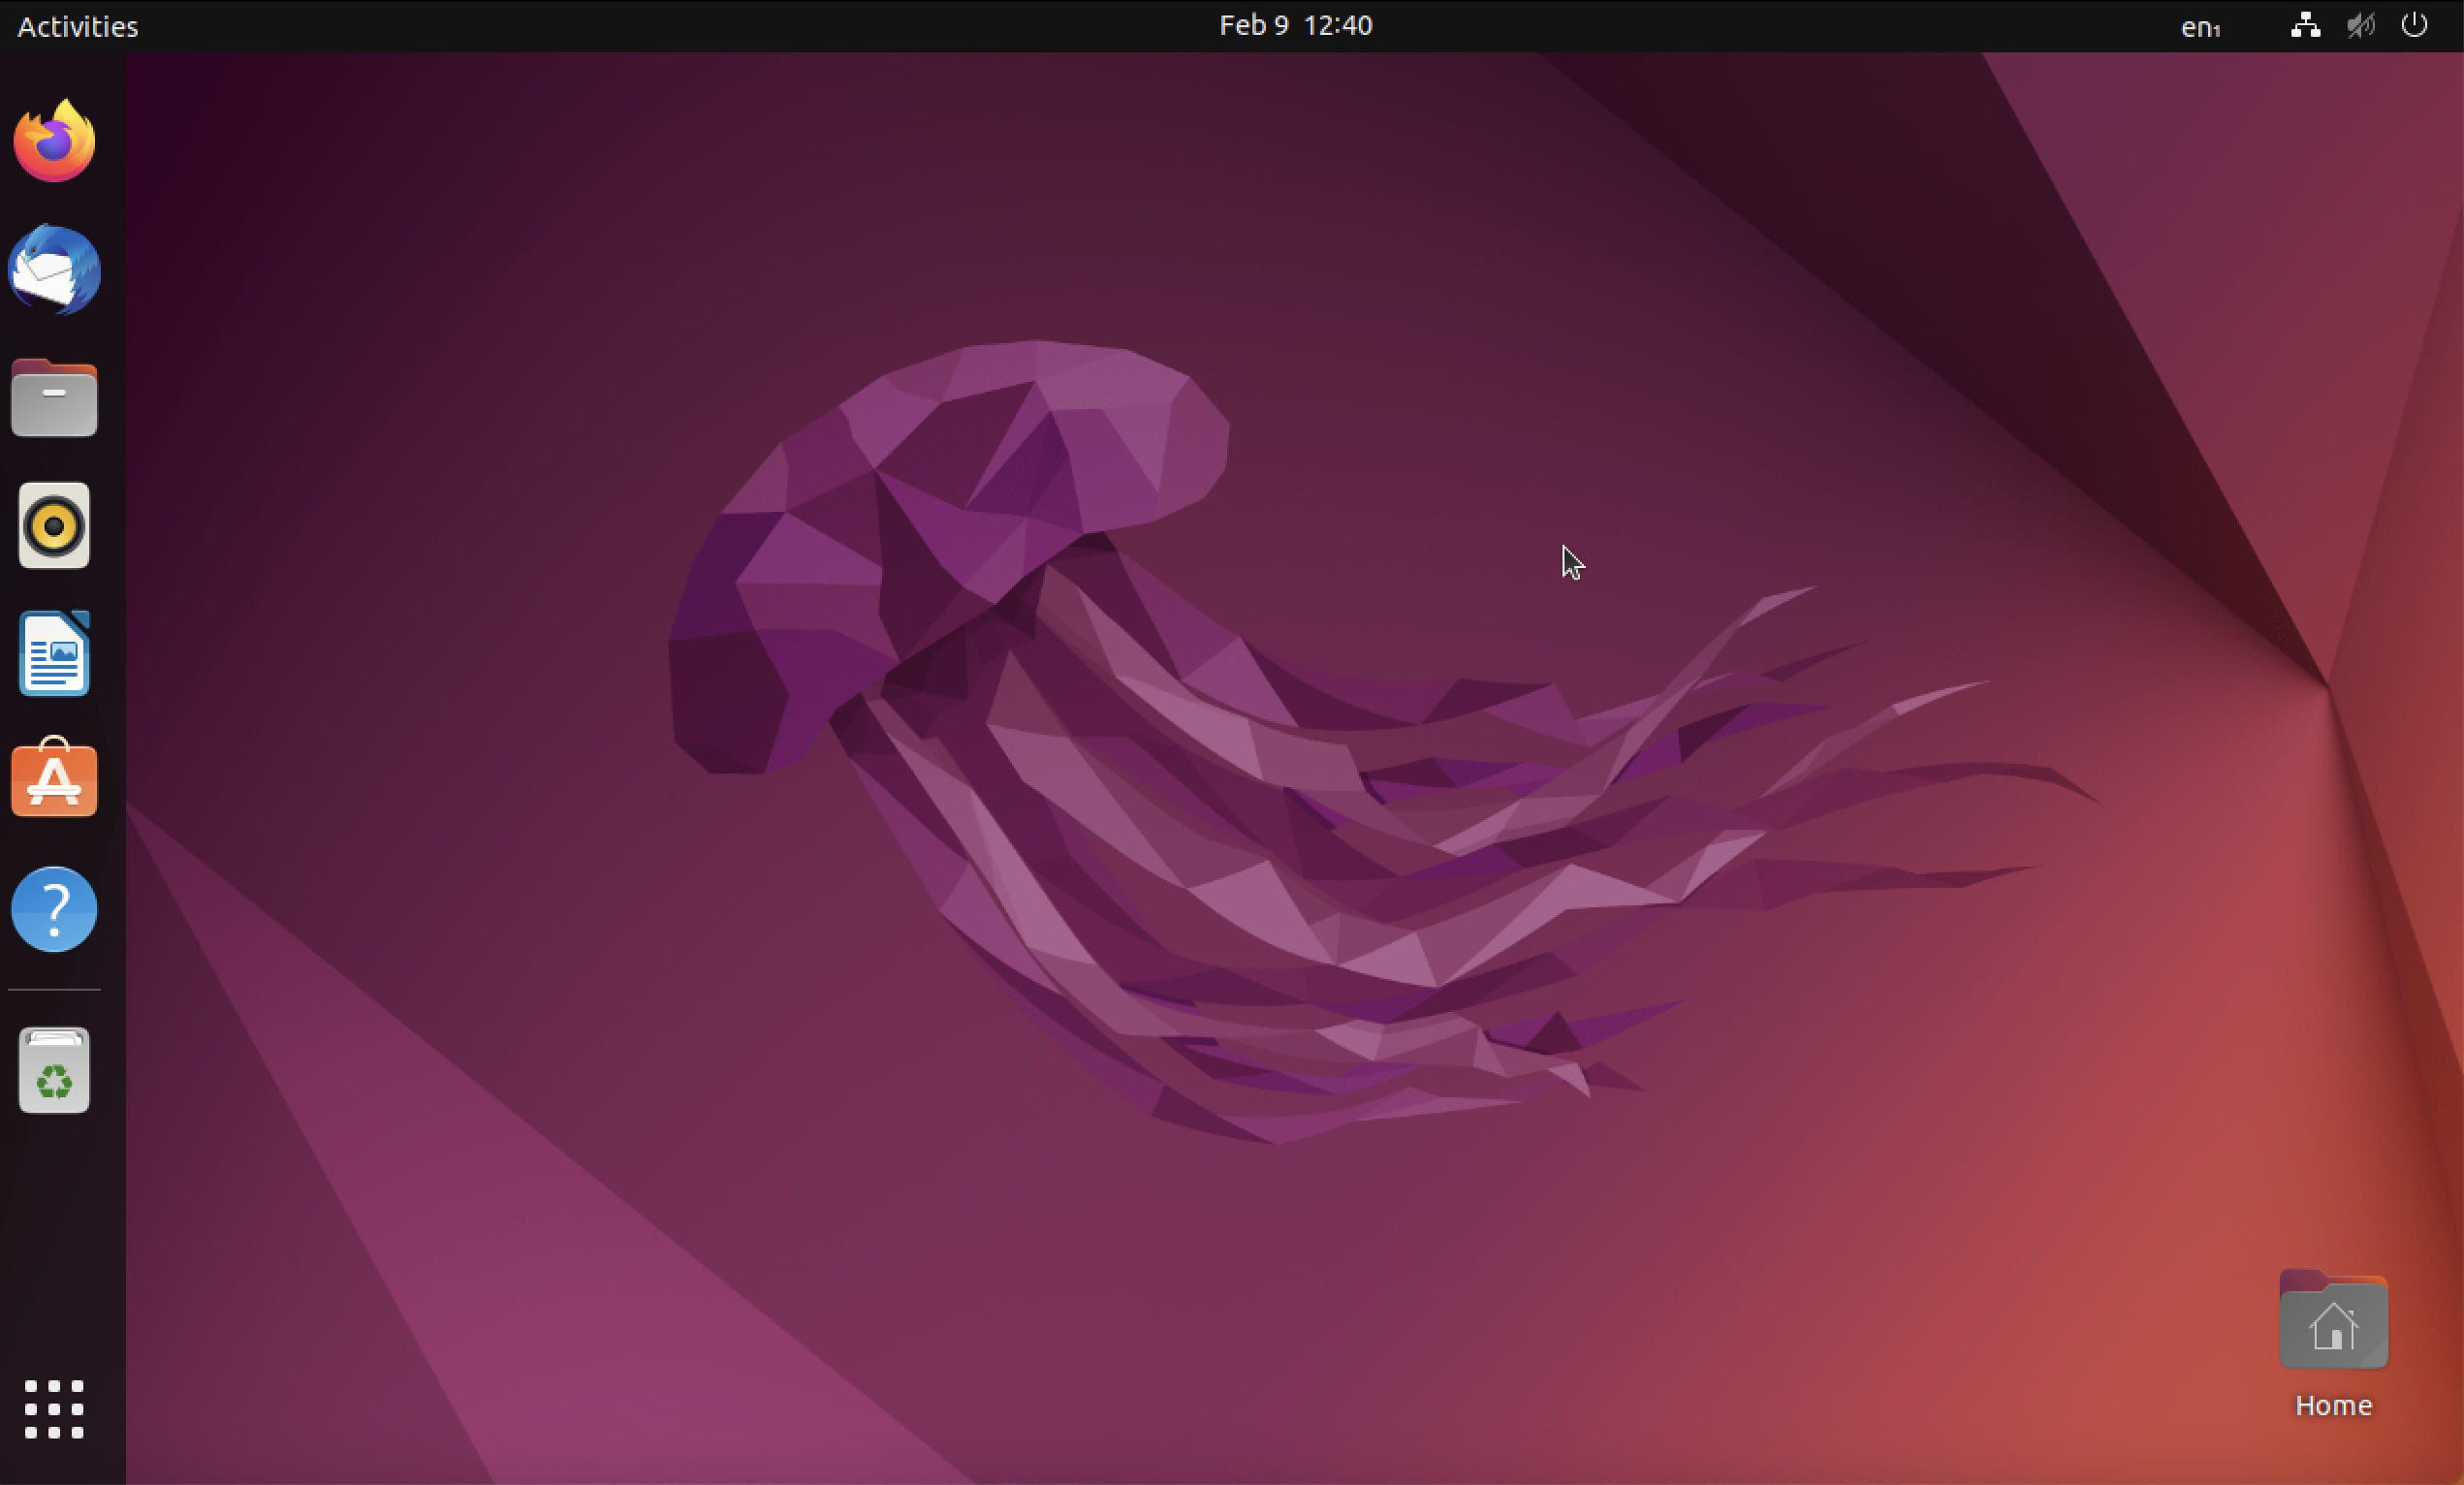
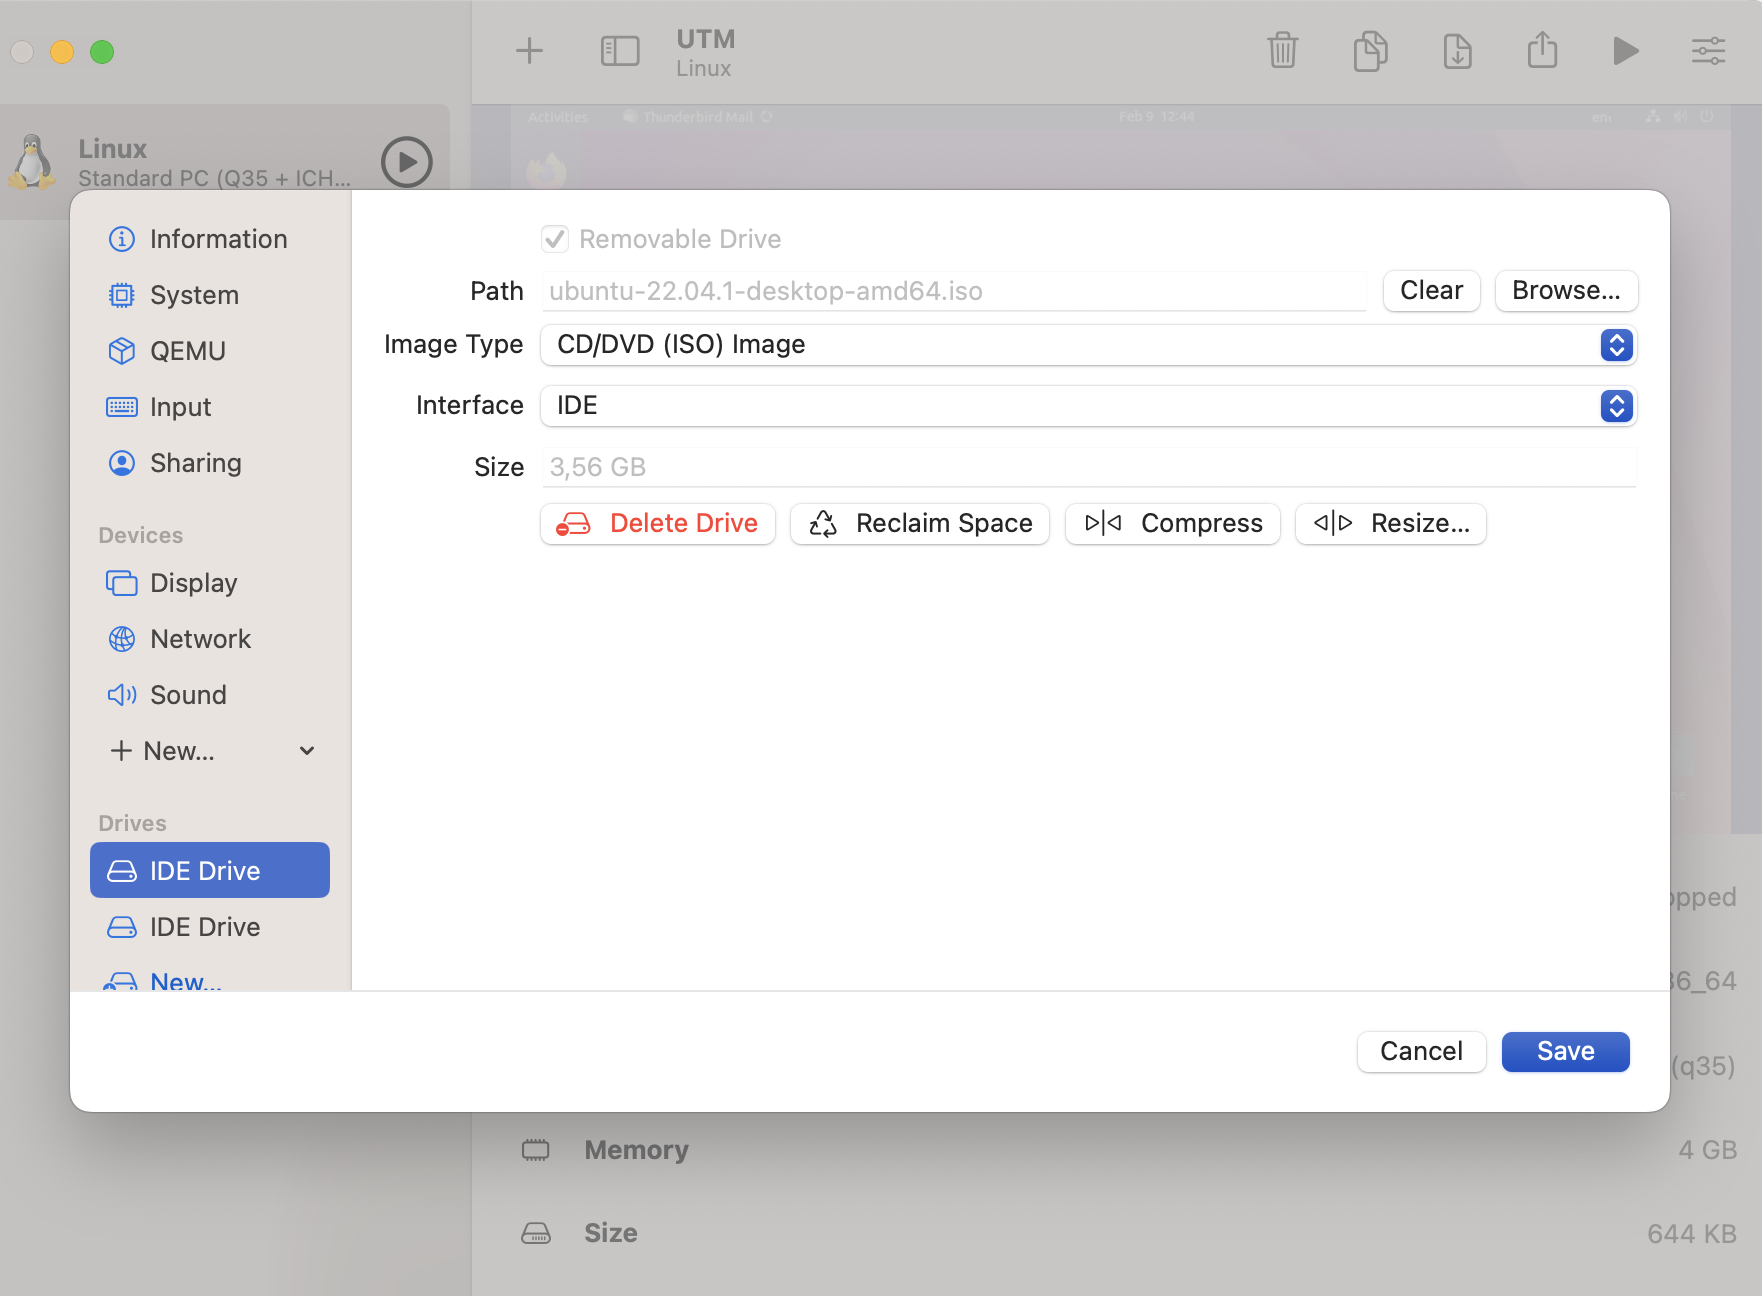
The virtual machine should now boot to the login screen. Check the setting in the upper-right corner menu if it kicks into ISO installation. Under the “IDE Drives” menu, change the “Image Type” from “CD/DVD ISO Image” to “None” and restart. Then finish the default configuration.
And that is it! Now you have a fully functional VM on your Apple host. Depending on your hardware, some programs will likely run better than others. I have tested UTMapp on Apple Intel and Apple M1 with similar results.